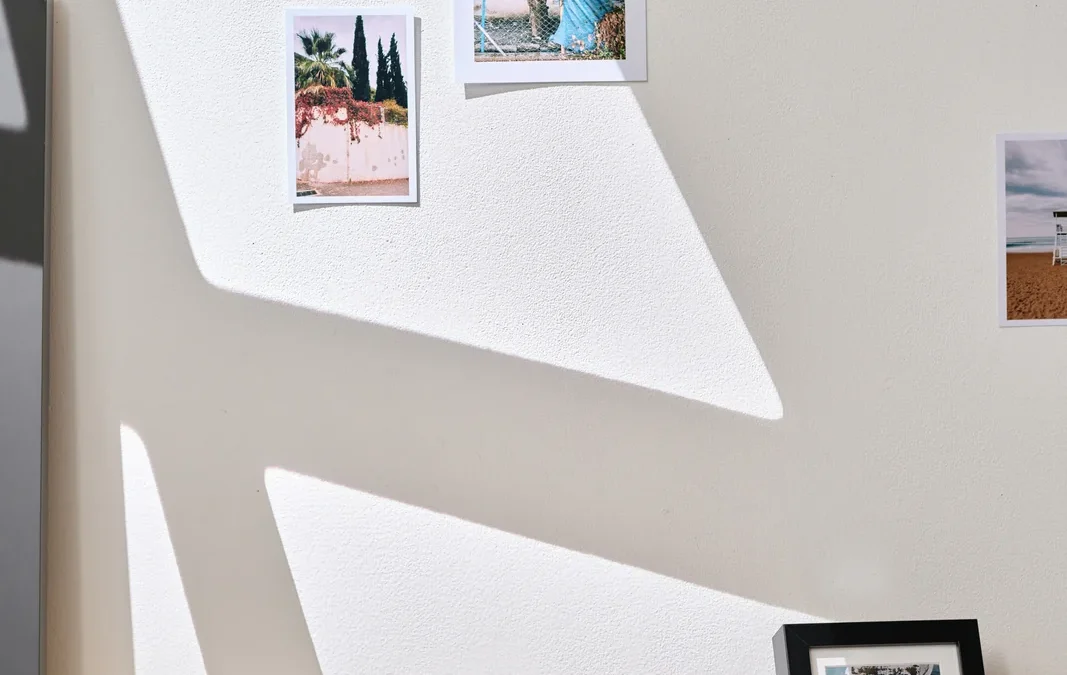
by twistedpixels | Jan 16, 2023 | Photographic Printing
Choose packing around the print size, surface, and whether it can be rolled. Start with the original image file and the display space. Differences in crop, resolution, lighting and paper can change how the final print reads.
How to put it into practice
Handle the print by the edges with clean hands and protect it from moisture.
Before you hand it over
Inspect the package and note any handling requirements before fitting. Keep the original file intact and label the output by crop and print size. Where one colour or detail matters, approve it on a sample before ordering the whole set.
Test it on a practical example
As a working exercise, choose one live example you can check from start to finish. Write down the intended result before comparing versions, or it will be difficult to tell whether a later change improved anything.
- Handle the print by the edges with clean hands and protect it from moisture.
- Inspect the package and note any handling requirements before fitting.
- Compare the final result with the intended use, and record who will confirm that it is ready.
Judge a sample under lighting similar to the intended display. Look separately at the most important light tones, dark tones and fine details. If you are comparing papers or crops, use the same source image for each test. This makes it easier to identify which difference comes from the paper or crop rather than a separate edit.
What to record before sign-off
Keep the source image unchanged and save the print export separately. Include the final print and visible frame dimensions in your notes so a later order can be checked against the approved result.
For help with this work, explore our photographic printing in East Kilbride and Glasgow or tell us about your project.
Related reading
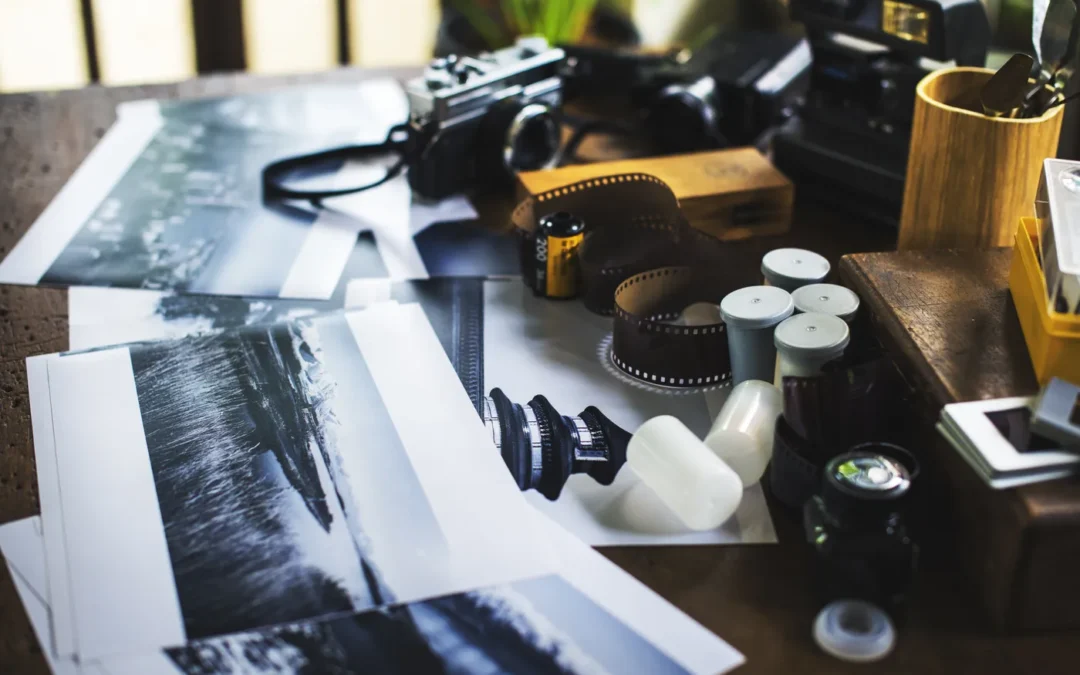
by twistedpixels | Jan 14, 2023 | Photographic Printing
Consider glare and the light falling on the finished print. Start with the original image file and the display space. Differences in crop, resolution, lighting and paper can change how the final print reads.
Apply it to a real example
Compare paper appearance with the image’s contrast and detail.
Review before approval
Check a sample under the conditions where it will be displayed. Keep the original file intact and label the output by crop and print size. Where one colour or detail matters, approve it on a sample before ordering the whole set.
Test it on a practical example
As a working exercise, choose one live example you can check from start to finish. Write down the intended result before comparing versions, or it will be difficult to tell whether a later change improved anything.
- Compare paper appearance with the image’s contrast and detail.
- Check a sample under the conditions where it will be displayed.
- Compare the final result with the intended use, and record who will confirm that it is ready.
Judge a sample under lighting similar to the intended display. Look separately at the most important light tones, dark tones and fine details. If you are comparing papers or crops, use the same source image for each test. This makes it easier to identify which difference comes from the paper or crop rather than a separate edit.
What to record before sign-off
Keep the source image unchanged and save the print export separately. Include the final print and visible frame dimensions in your notes so a later order can be checked against the approved result.
For help with this work, explore our photographic printing in East Kilbride and Glasgow or tell us about your project.
Related reading
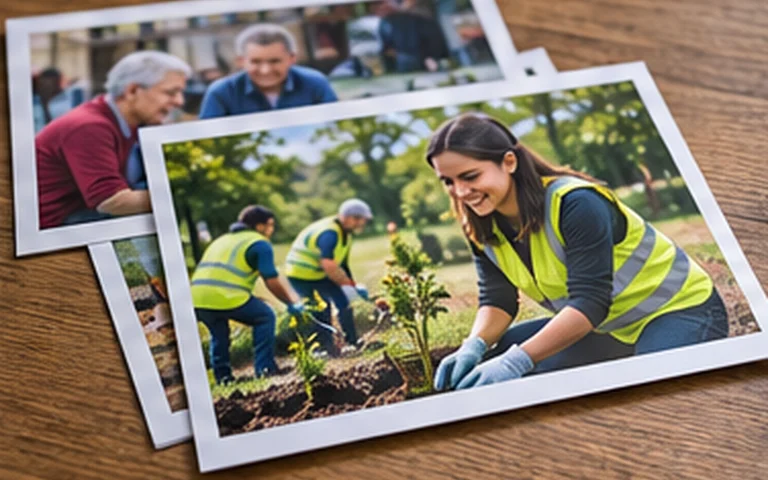
by twistedpixels | Dec 30, 2022 | Photographic Printing
When project leads and volunteer coordinators compare suppliers for photographic printing, the useful question is whether the project will deliver photographic prints with a crop and finish that suit the intended display. A wide audience may include people who have never encountered the organisation or its work.
A typical decision might involve a time-bounded public initiative with limited staff time and several stakeholders. This is an illustrative brief. It points to the kind of evidence to ask for and helps explain why a quote may differ from a superficially similar job.
Choosing a suitable scope
The comparison here is standard display prints versus a more closely proofed presentation. Neither option has value in isolation. The right scope depends on whether the immediate priority is information that is accessible and accurate with a clear route to participate, and whether staff and volunteers who will answer the same questions during the campaign can maintain what has been agreed. A smaller commission can work well where there is one clear deadline and a stable offer. Where several teams or formats are involved, a broader scope may prevent duplicated effort, conflicting information or production delays.
A small business can often separate a launch requirement from improvements it would like to make later. That distinction lets a supplier explain which items are necessary for a useful result and which could wait. It also makes it easier for the people using the work to understand what will be ready on the agreed date.
What affects the quote
The most relevant quote factors are file quality, finished size, paper, proofing and quantity. When presentation matters, compare the physical print in the likely display lighting. Ask the provider to identify the assumptions behind the price, the work included and which changes would require another estimate. Two quotes can differ because one includes approval, production, delivery or ongoing support that the other treats as separate work. A fair comparison puts both proposals against the same business outcome and the same final deliverables.
What you can expect to receive
A useful proposal should specify the agreed crop, proof where required and the finished prints. For charities and community organisations, the conversation will usually be clearer when the business can share approved wording, programme details and a named reviewer for sensitive information. That information helps the supplier assess the scope and highlight anything the team still needs to decide. It also gives the people responsible for approval something concrete to review before the work moves into production or launch.
How to judge the completed work
Agree what a usable result looks like for project leads and volunteer coordinators. A plausible success test is whether the work supports information that is accessible and accurate with a clear route to participate, under the conditions the business sees day to day. Ask what the supplier will present for approval and who will own any issue spotted at that point. For a fixed deadline, check what date the supplier needs final approval, and what options are available if an essential detail changes.
Discussing your project with Twisted Pixels
Twisted Pixels can discuss the brief with project leads and volunteer coordinators in East Kilbride, Glasgow and the surrounding area. Tell us what the work needs to achieve, who it is for and when it needs to be ready. We can explain what a suitable scope is likely to include and where a sample, existing asset or more precise specification would make a quote more useful.
Explore photographic printing, browse Twisted Pixels Insights or discuss your brief with Twisted Pixels.
Related commissioning guides
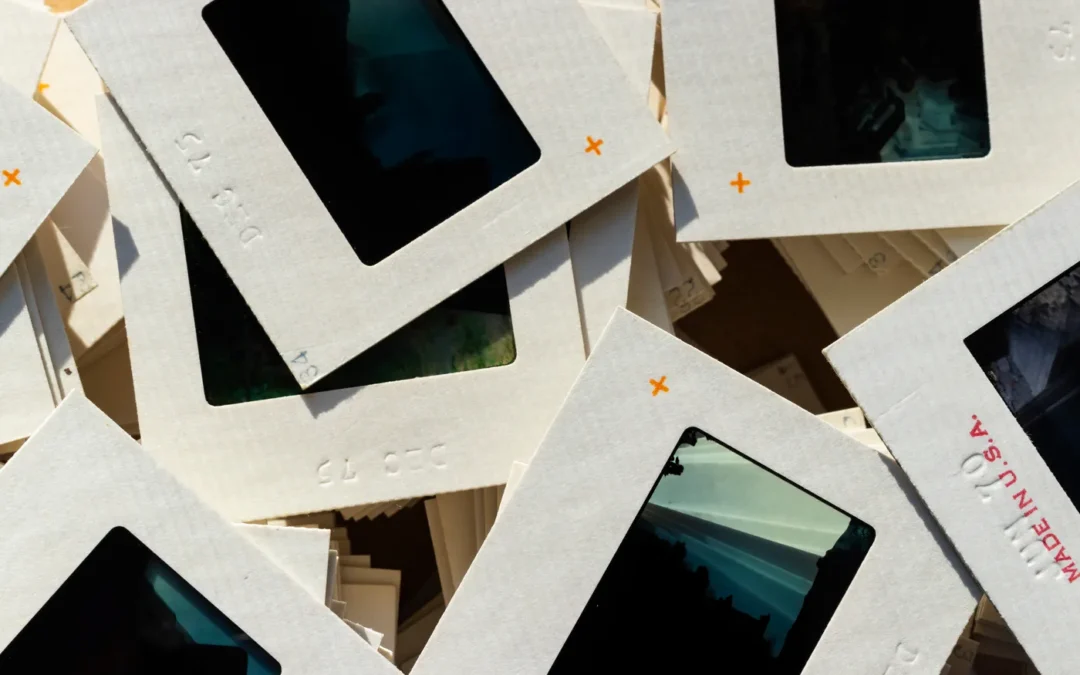
by twistedpixels | Aug 3, 2022 | Photographic Printing
Agree the final sizes, finish and order of display. Start with the original image file and the display space. Differences in crop, resolution, lighting and paper can change how the final print reads.
How to put it into practice
Proof representative images with highlights, shadows and important colour.
Before you hand it over
Track filenames and quantities against the exhibition plan. Keep the original file intact and label the output by crop and print size. Where one colour or detail matters, approve it on a sample before ordering the whole set.
Test it on a practical example
As a working exercise, choose one live example you can check from start to finish. Write down the intended result before comparing versions, or it will be difficult to tell whether a later change improved anything.
- Proof representative images with highlights, shadows and important colour.
- Track filenames and quantities against the exhibition plan.
- Compare the final result with the intended use, and record who will confirm that it is ready.
Judge a sample under lighting similar to the intended display. Look separately at the most important light tones, dark tones and fine details. If you are comparing papers or crops, use the same source image for each test. This makes it easier to identify which difference comes from the paper or crop rather than a separate edit.
What to record before sign-off
Keep the source image unchanged and save the print export separately. Include the final print and visible frame dimensions in your notes so a later order can be checked against the approved result.
For help with this work, explore our photographic printing in East Kilbride and Glasgow or tell us about your project.
Related reading

by twistedpixels | Jul 14, 2022 | Photographic Printing
Send the original image rather than a copy saved from messaging or social media. Start with the original image file and the display space. Differences in crop, resolution, lighting and paper can change how the final print reads.
Working through the details
Check focus, noise and compression before enlarging it.
A check you can repeat
Confirm the crop and proof a detail area if the file is borderline. Keep the original file intact and label the output by crop and print size. Where one colour or detail matters, approve it on a sample before ordering the whole set.
Test it on a practical example
As a working exercise, choose one live example you can check from start to finish. Write down the intended result before comparing versions, or it will be difficult to tell whether a later change improved anything.
- Check focus, noise and compression before enlarging it.
- Confirm the crop and proof a detail area if the file is borderline.
- Compare the final result with the intended use, and record who will confirm that it is ready.
Judge a sample under lighting similar to the intended display. Look separately at the most important light tones, dark tones and fine details. If you are comparing papers or crops, use the same source image for each test. This makes it easier to identify which difference comes from the paper or crop rather than a separate edit.
What to record before sign-off
Keep the source image unchanged and save the print export separately. Include the final print and visible frame dimensions in your notes so a later order can be checked against the approved result.
For help with this work, explore our photographic printing in East Kilbride and Glasgow or tell us about your project.
Related reading

by twistedpixels | May 2, 2022 | Photographic Printing
Use a consistent screen brightness and check the paper under steady light. Start with the original image file and the display space. Differences in crop, resolution, lighting and paper can change how the final print reads.
How to put it into practice
Compare the most important tones and colours before chasing minor differences.
Before you hand it over
Record the agreed changes and apply them to the final export. Keep the original file intact and label the output by crop and print size. Where one colour or detail matters, approve it on a sample before ordering the whole set.
Test it on a practical example
As a working exercise, choose one live example you can check from start to finish. Write down the intended result before comparing versions, or it will be difficult to tell whether a later change improved anything.
- Compare the most important tones and colours before chasing minor differences.
- Record the agreed changes and apply them to the final export.
- Compare the final result with the intended use, and record who will confirm that it is ready.
Judge a sample under lighting similar to the intended display. Look separately at the most important light tones, dark tones and fine details. If you are comparing papers or crops, use the same source image for each test. This makes it easier to identify which difference comes from the paper or crop rather than a separate edit.
What to record before sign-off
Keep the source image unchanged and save the print export separately. Include the final print and visible frame dimensions in your notes so a later order can be checked against the approved result.
For help with this work, explore our photographic printing in East Kilbride and Glasgow or tell us about your project.
Related reading
